Get a complimentary consultation today. Get in touch
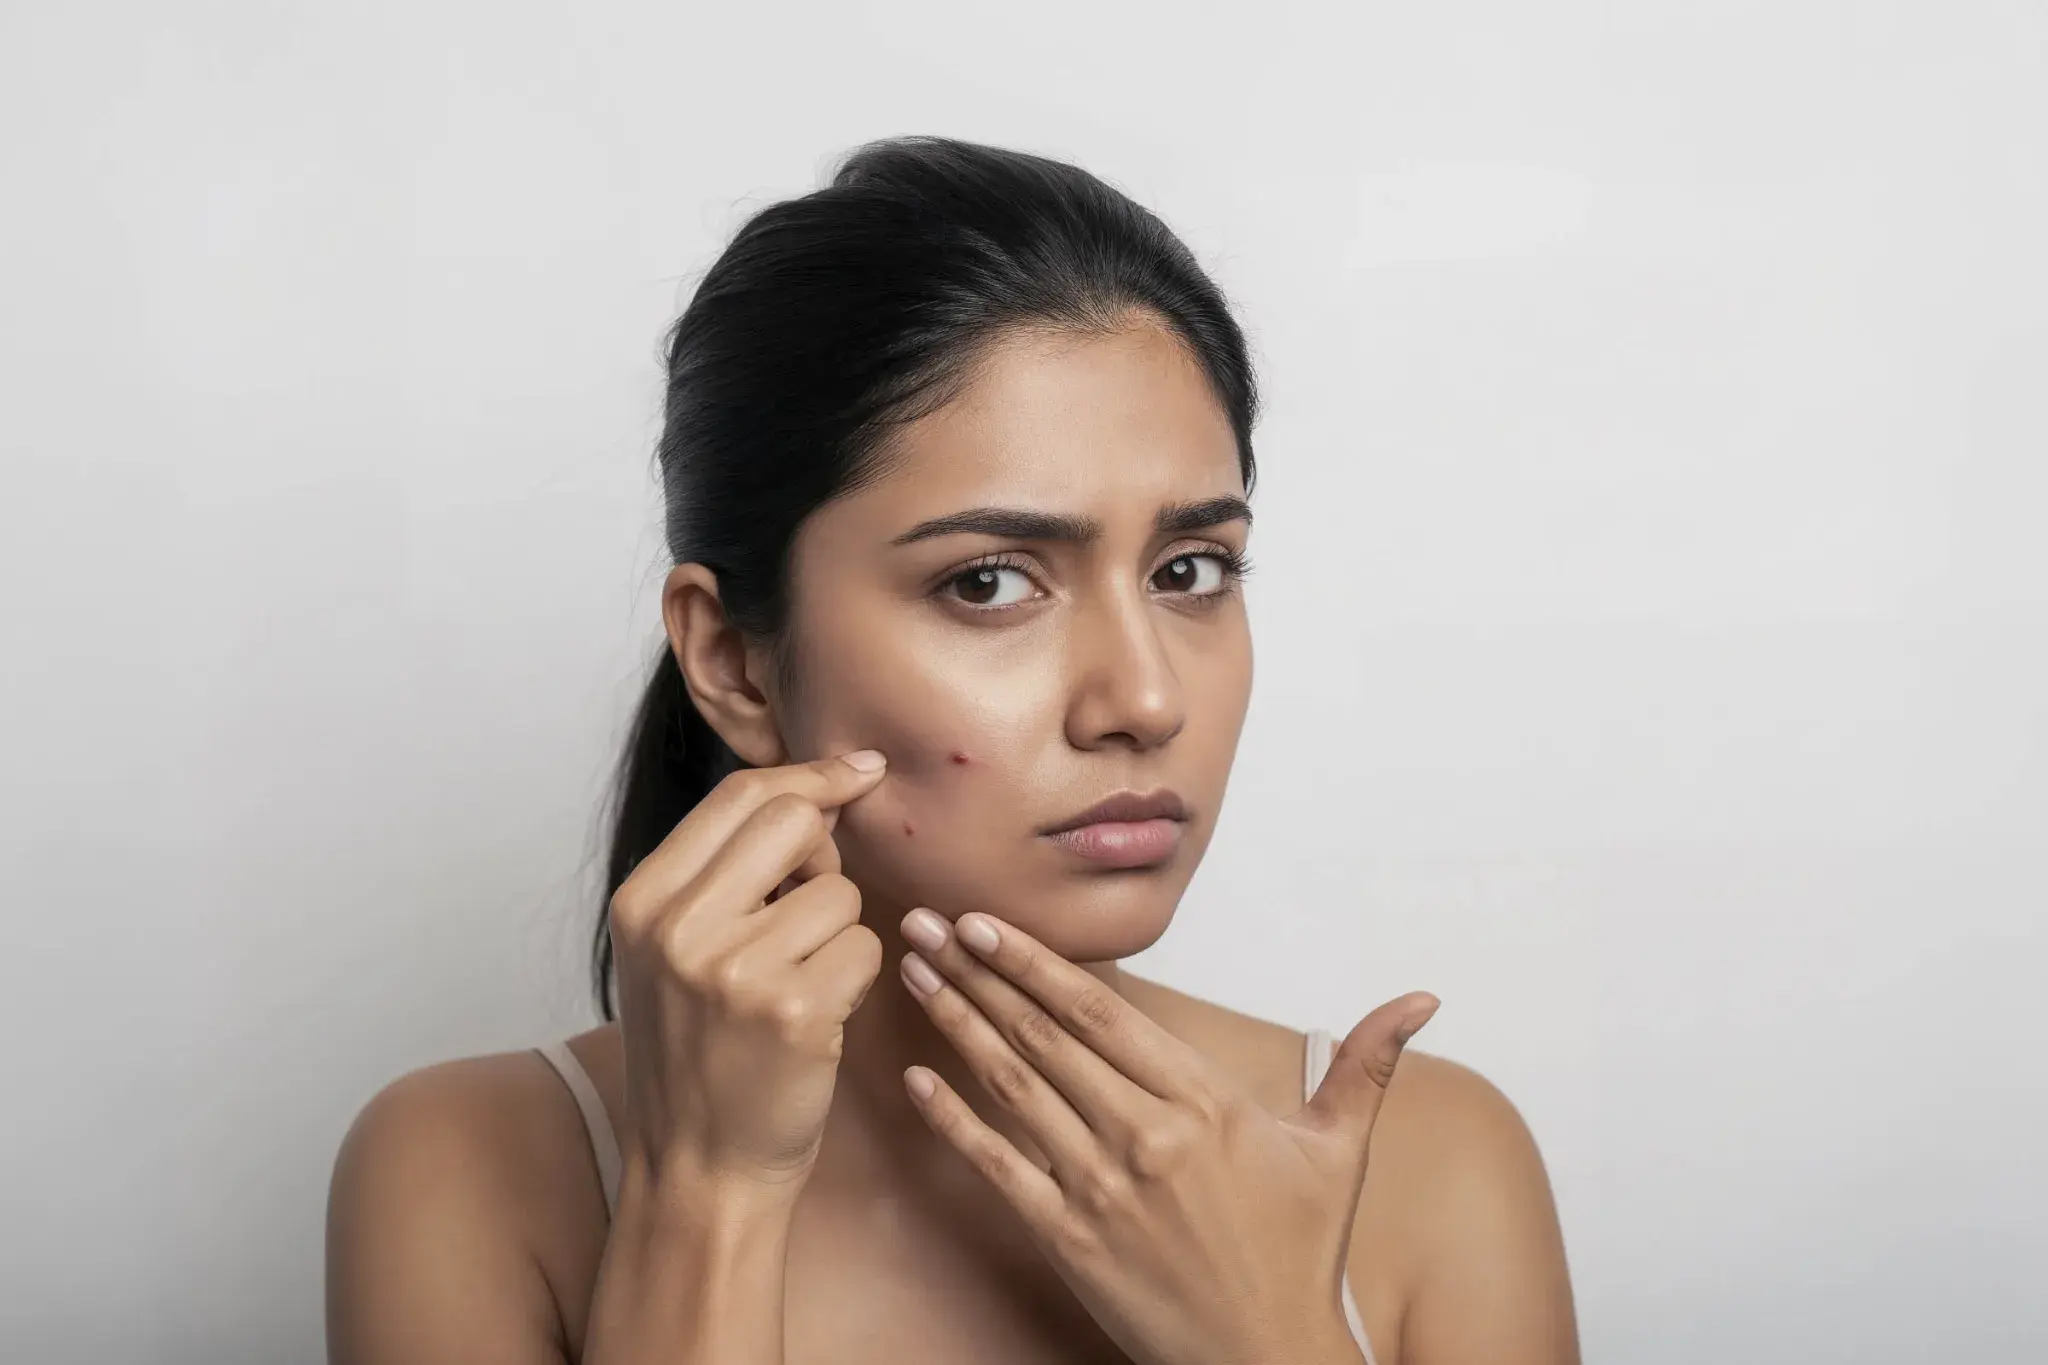
Using a facial cleansing method in the right way is what makes any skincare routine work. But, the majority of people doing this are so mistaken that they either tear their skin or leave it dirty. If you do this properly, you will have radiant skin. On the other hand, if you do it improperly, even costly serums won't be effective.
The Proper 6-Step Cleanser Process
Step 1: Prepare Your Hands
Firstly, clean your hands properly. When your hands are dirty, they bring bacteria to your face that makes all the cleansing effort futile. Make sure your hair is not falling on your face while cleansing.
Step 2: Wet Your Face
Heat your face with warm water, not too hot though, as that will remove natural oils from your skin. Warm water not only opens your pores but also hydrates skin making it ready for cleansing.
Step 3: Apply the Right Amount
Only one coin-sized amount of cleanser is necessary. Just because of a larger quantity of one's cleaning product doesn't equate to cleaner skin—it simply causes the skin to be more irritated. If your product is in a gel or foam form, you should first create a little lather between your palms
Step 4: Massage Gently (This Is Key)
It's very important that you spend ca. 30-60 seconds gently massaging the entire face area with a cleanser. Work your way starting from your forehead to your T-zone (most oily), then to your cheeks, and finally to your neck. Don't scrub—this process breaks your skin barrier and leads to skin getting inflamed.
Step 5: Rinse Thoroughly
Cool water should be used to rinse the face until it is free from any cleanser. What is causing a breakout is not the cleansing gel but the residues left behind which clog the pores. Also, you should rinse your hairline, jawline, and under your chin thoroughly.
Step 6: Pat Dry Gently
Use a clean soft towel for the drying process. Patting is what you should do here. Rubbing will, however, further irritate the skin that has just been cleansed and might cause redness.
One of the most important things is to choose a suitable cleanser for your skin.
- Oily skin: foaming or gel cleansers should be used that manage to remove oil without drying out the skin.
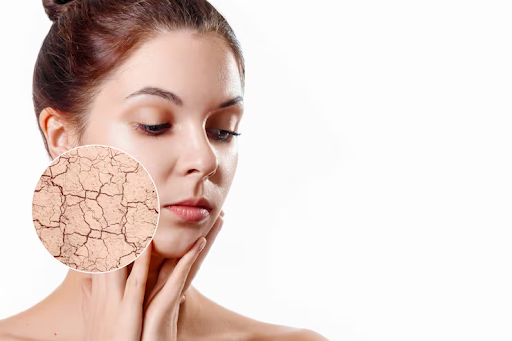
- Dry skin: creamy or milk cleansers that clean without taking away the natural oils should be of the choice.
- Sensitive skin: gentle, fragrance-free, with minimal ingredients should be your preferred products.
- Combination skin: a balanced gel-cream that works on the different zones is your skin type
Most Common Mistakes When Cleanser Is Involved (And Solutions for Them)
Mistake 1: Hot water is used. By doing this you hurt your skin barrier.
Fix: Make lukewarm water your constant companion when washing your face.
Mistake 2: Cleansing for a mere 10 seconds. Way too short of the time to remove dirt and impurities.
Fix: Maneuver 30-60 seconds for full cleansing and massaging.
Mistake 3: Too much of the product is used and thus the skin is overstriped.
Fix: The perfect amount for a face wash is that which can fit in a coin.
Pro Tips for Maximum Glow
One should perform the cleansing routine two times a day i.e., in the morning and evening. What the morning cleaning does is it removes the oil that has built up during the night. Evening cleansing is done for making up, freeing from dirt and pollution2.
Toner is a good companion after a cleanser to regain the pH balance. After tone is a nice moisturizer preventing dehydration. This very simple routine acts as a face saver making breakouts disappear and skin getting radiant.


.png)


-1.png)


-Jun-01-2026-02-54-50-5351-PM.png)
-Jun-01-2026-02-45-39-8016-PM.png)

-May-29-2026-03-30-08-6855-PM.png)


-1.webp)

-3.webp)


.webp)
.webp)


-1.webp)

.webp)
.webp)

.webp)


-Jan-27-2026-09-48-13-4979-AM.png)
-1.jpg)
-2.jpg)
-Jan-27-2026-09-24-32-0172-AM.png)
-Jan-27-2026-09-10-48-5822-AM.jpg)
-Jan-27-2026-08-57-12-4372-AM.png)
-Jan-27-2026-08-16-49-0564-AM.jpg)
-Jan-27-2026-06-55-42-4422-AM.webp)
-Jan-27-2026-06-40-44-2551-AM.png)
-Jan-27-2026-06-11-42-6101-AM.png)
-Jan-07-2026-09-25-13-8220-AM.png)
-Jan-06-2026-01-36-04-6664-PM.png)
-Jan-07-2026-09-42-24-0602-AM.png)
-Jan-06-2026-10-25-17-9480-AM.png)


-Jan-07-2026-10-45-10-6342-AM.png)
-Jan-07-2026-10-40-58-9351-AM.png)
-Jan-07-2026-10-08-30-8016-AM.png)
-Jan-07-2026-10-05-55-1289-AM.png)
-Jan-07-2026-09-55-51-8183-AM.png)
-Jan-07-2026-09-53-13-6988-AM.png)
-Jan-07-2026-09-46-58-5932-AM.png)
-Jan-07-2026-09-31-08-6264-AM.png)
-Jan-07-2026-09-22-16-5686-AM.png)
-Jan-06-2026-01-41-35-4606-PM.png)
-4.png)